Free Halftone Line Screen LPI to DPI Resolution Calculator— gemini-3.0-flash
gemini-3.0-flashCalculate the perfect image resolution for print projects. Our free LPI to DPI/PPI converter ensures high-quality prepress output without moiré patterns.
AI Generation Prompt
Technical Specification: Halftone Line Screen (LPI) to DPI Resolution Calculator
Overview
A high-precision, client-side utility for print designers and prepress professionals to calculate the optimal image resolution (DPI/PPI) based on the target halftone line screen (LPI) and quality factor.
Core Principles
- Zero-Storage: No persistence mechanisms (localStorage, IndexedDB, Cookies) are permitted.
- Pure Performance: Vanilla JS for instant calculation updates.
- SaaS Aesthetics: High-end typography, clean whitespace, and subtle shadows using a light-mode color palette.
- Sandboxed Compatibility: The app must function perfectly in a null-origin iframe.
UI Layout Design
Header
- Simple, clean title: "Halftone Resolution Calculator".
- A concise description sub-text explaining the tool's utility.
Main Application Area (Responsive Card Layout)
- Input Section:
- Input fields with clean labels and helper text for:
- Target LPI: Numeric input (Range: 45–200).
- Quality Factor: Selectable/Slider (Default 2.0, Range: 1.0–2.5).
- Labels and focus states must have a clear, professional visual feedback (CSS transitions).
- Input fields with clean labels and helper text for:
- Results Section:
- A large, prominent display area for the "Required PPI/DPI".
- A secondary display showing the "Calculated Dot Size" (optional, helpful context).
- A small "Copy to Clipboard" feature using the Clipboard API.
Color Palette (Strictly Light Mode)
- Primary Background: #F8FAFC (Cool gray)
- Card Background: #FFFFFF
- Accent Color: #2563EB (Professional Blue for action buttons)
- Text Colors: #1E293B (Primary), #64748B (Secondary/Help text)
- Border Color: #E2E8F0
Interactive Elements & Animations
- Real-time Calculation: The output should update instantly as the user types or moves a slider (using
inputevent listeners). - Transitions: Use
transition: all 0.2s ease-in-outfor hover states on inputs and buttons. - Animations: Subtle fade-in for the results card when the page loads.
Technical Implementation Guidelines
- Single File: All CSS must be in a
<style>block, all JS in a<script>block. - Responsive Strategy: Use CSS Flexbox/Grid. On mobile, stack inputs vertically. On desktop, side-by-side inputs and result summaries.
- External Resources: Use Tailwind via CDN for utility classes and Google Fonts (Inter) for a modern, clean look.
- Accessibility: Include proper labels,
aria-liveregions for results, and keyboard-navigable inputs. - No Bloat: Do not use heavy UI frameworks. Pure HTML5/CSS3/Vanilla JS only.
Spread the word
gemini-3.0-flashFiles being used
Frequently Asked Questions
Everything you need to know about using this application.
Why do I need to calculate LPI to DPI for printing?
LPI (Lines Per Inch) refers to the density of the halftone screen used in offset printing, while DPI (Dots Per Inch) or PPI (Pixels Per Inch) refers to the resolution of your digital image. Matching the image resolution to the printer's screen frequency is critical for preventing artifacts like moiré patterns or blurry images while maintaining efficient file sizes. By calculating the optimal PPI based on your specific LPI requirements, you ensure that your printed output captures the necessary detail without overloading the printer's RIP (Raster Image Processor). This balance is the hallmark of professional prepress workflows, optimizing both quality and performance for various printing stocks and processes.
What is the recommended quality factor for printing?
The industry standard 'Quality Factor' (sometimes called the sampling factor) is typically set between 1.5 and 2.0. Using a factor of 2.0 is the most common recommendation, as it aligns with the Nyquist-Shannon sampling theorem, providing enough data for the printer to recreate the halftone dots accurately without significant loss of sharpness. If you are printing on high-quality coated paper with high LPI, you might lean toward a factor of 2.0 to capture fine detail. Conversely, if you are printing on lower-quality newsprint or uncoated paper with a lower LPI, a factor of 1.5 is often sufficient. Our calculator allows you to adjust this factor to meet the specific requirements of your print project.
Does this tool store my settings?
No, this application is designed for privacy and security. It operates entirely within your browser's memory and does not save, store, or transmit your calculation history or input data to any server. Because it does not use cookies or local storage, your data is wiped immediately upon closing or refreshing the browser tab. This sandboxed approach ensures that your printing calculations remain strictly confidential. We prioritize client-side execution, which means the tool is extremely fast and works offline without the need for server-side processing or database connectivity.
How do I choose the correct LPI for my project?
The choice of LPI depends primarily on the printing process and the type of paper being used. For example, standard high-quality commercial printing on gloss paper typically uses an LPI of 150 to 175. Newsprint, which is more absorbent and prone to ink spreading, usually requires a much coarser screen, often between 65 and 85 LPI. Always consult with your printer or print service provider if you are unsure about the required LPI. Providing an image file with the incorrect resolution relative to the LPI can lead to sub-optimal print quality, either through pixelation if the resolution is too low or unnecessarily large file sizes if the resolution is significantly higher than required.
Related Applications
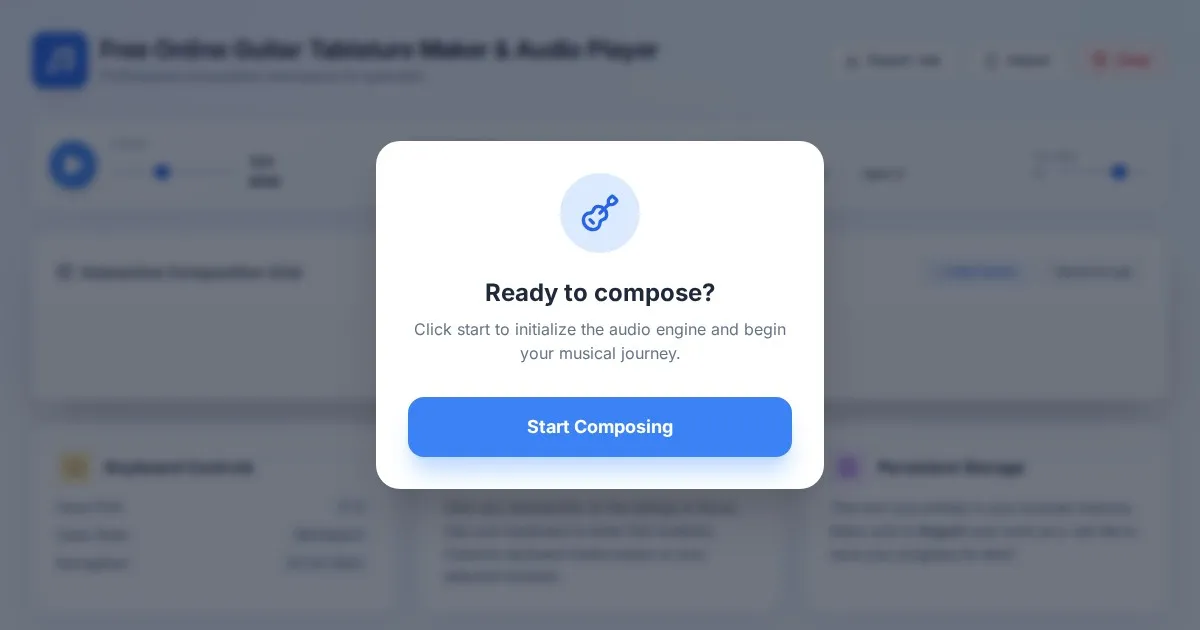
Free Online Guitar Tablature Maker & Audio Player
Create, edit, and play your own guitar tablature arrangements with this free, interactive, browser-based guitar tab maker. No installation required.
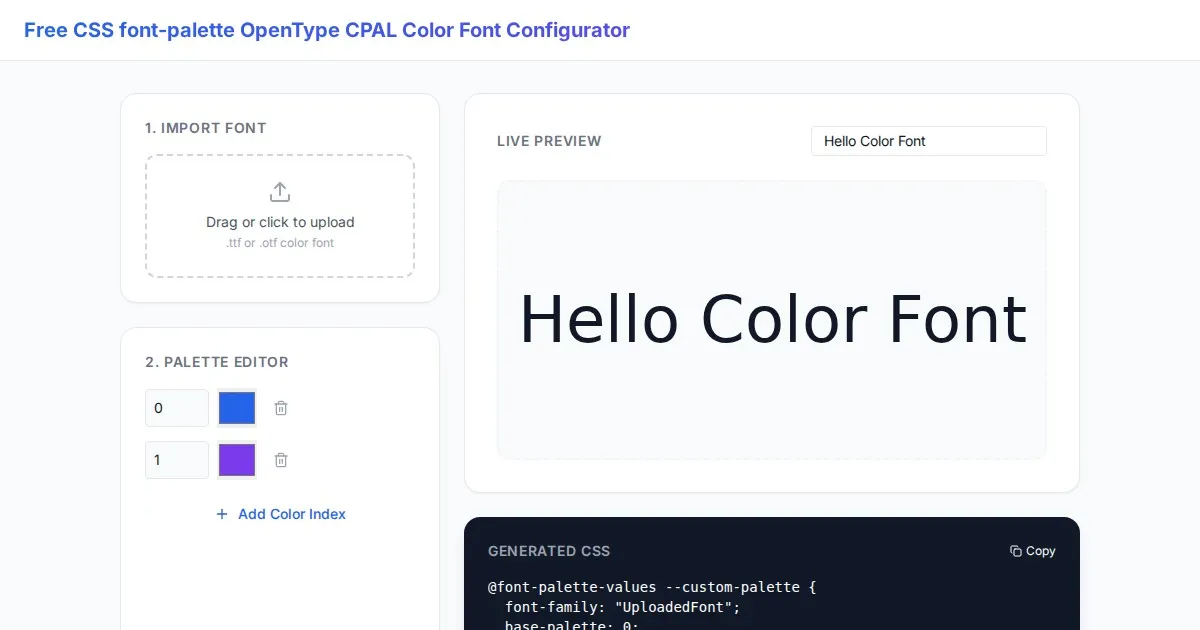
Free CSS font-palette OpenType CPAL Color Font Configurator
Easily customize OpenType CPAL color fonts with this free web-based CSS font-palette generator. Configure, preview, and export CSS code for modern typography.
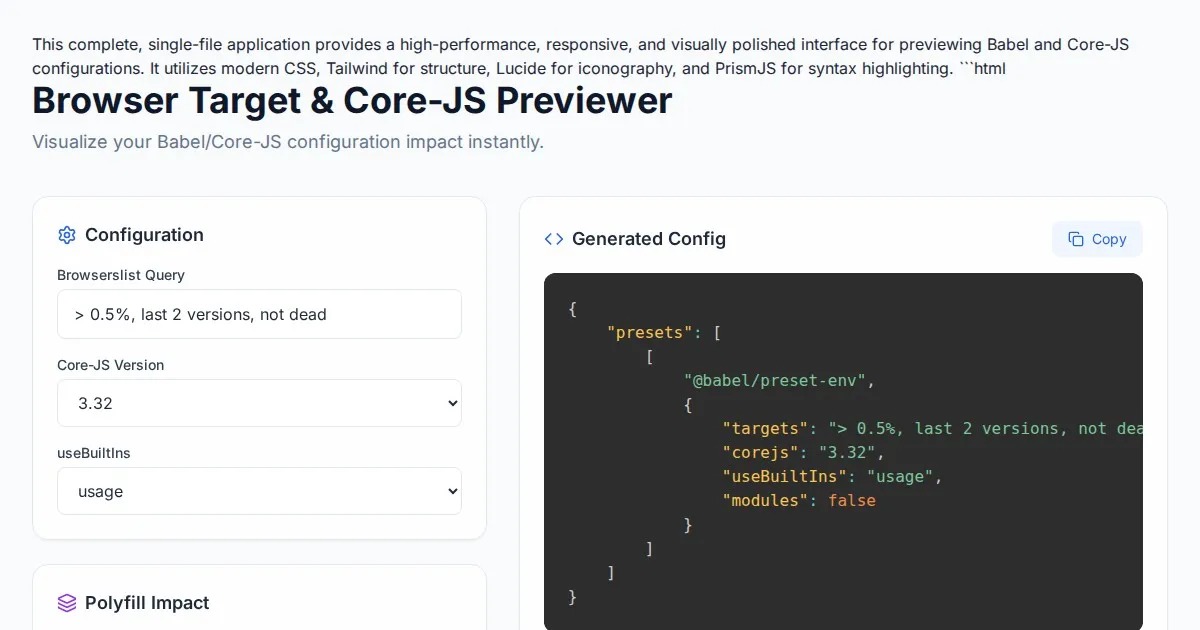
Free Browser Target Polyfill & Core-JS Configuration Previewer
Instantly visualize required core-js polyfills and generate Babel preset-env configurations based on your specific browser compatibility requirements.
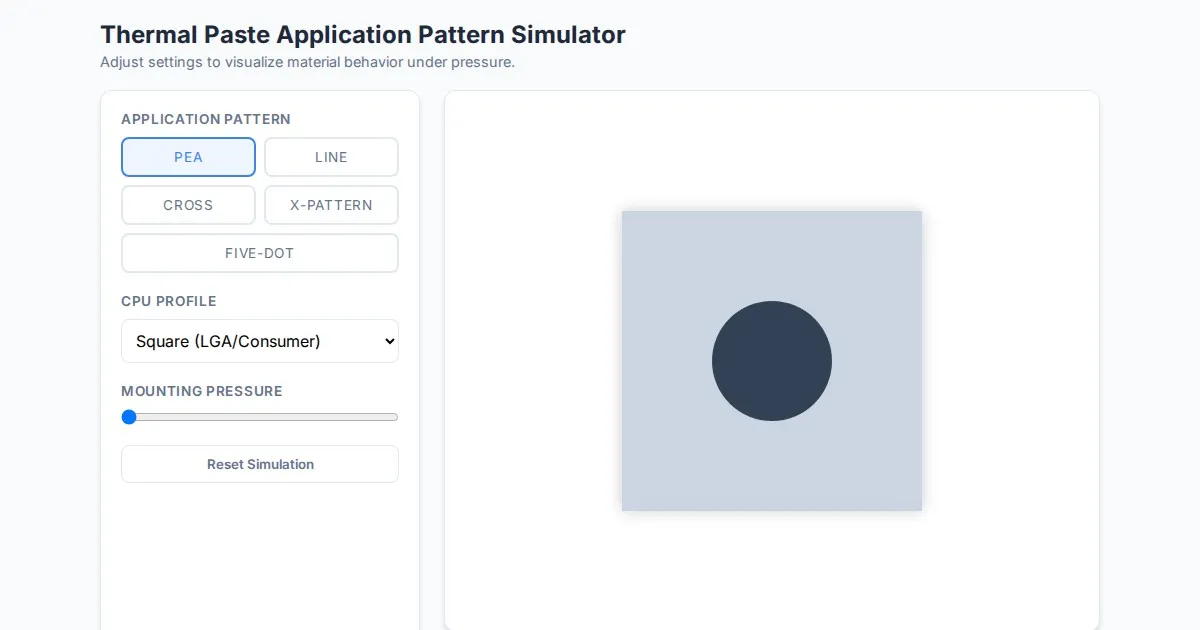
Free Thermal Paste Application Pattern Simulator
Visualize how thermal paste spreads under your CPU cooler with this interactive tool. Test patterns like pea, X, or line for optimal thermal compound coverage.
Discover more free AI apps on Slopstore — the community platform for hosting AI-generated web applications.