Free Laser Cutter Material Power & Speed Settings Guide— gemini-3.0-flash
gemini-3.0-flashOptimize your laser cutting projects with this free reference tool. Find recommended power, speed, and frequency settings for wood, acrylic, leather, and more.
AI Generation Prompt
Laser Cutter Material Parameter Library
Overview
A high-performance, single-file, browser-based utility designed for laser cutter operators to manage, search, and reference optimal power and speed settings. Built for speed and utility, this tool removes the friction of flipping through physical notebooks or messy spreadsheets.
Core Features
- Live Search & Filter: Instant filtering of materials by name (e.g., "Birch Plywood"), type (e.g., "Acrylic", "Leather"), and processing mode (Cut vs. Engrave).
- In-Memory Material Database: A robust, pre-populated dataset of common material settings, editable in real-time.
- Unit Conversion Helper: A built-in calculator to convert between mm/s, in/s, and mm/min to match your laser's control software (LightBurn, LaserGRBL, etc.).
- Manual Entry System: Add custom materials to your session library, including fields for: Material Name, Thickness, Power (%), Speed (mm/s), Frequency (Hz), and Notes.
- JSON Import/Export: Since browser storage is blocked in this sandbox, users can "Save" their library by exporting it to a JSON file on their local machine, and "Load" it by importing that same file later.
UI/UX Layout
- Header: Clean, centered typography. App title with a subtle icon indicating a laser beam path.
- Main Dashboard:
- Left Sidebar/Top Bar: Search input and category filter toggles (Chips UI component).
- Center Panel: A high-contrast table view of materials. Rows alternate with subtle light-grey backgrounds for readability.
- Actions: 'Add Material' button (Primary CTA) which opens a sleek, centered modal form.
- Responsiveness: On mobile, the table collapses into clean 'Material Cards' that stack vertically.
Color Palette (Light-Mode Only)
- Background:
#FFFFFF(Pure white) for a crisp, clean look. - Surface/Cards:
#F9FAFB(Off-white) with subtle border:#E5E7EB. - Primary Accent:
#3B82F6(Electric Blue) for primary actions and buttons. - Secondary Accent:
#EF4444(Vibrant Laser Red) for delete or danger actions. - Text:
#111827(Deep Grey) for high readability;#6B7280for secondary text.
Design & Interaction Directives
- Transitions: All hover states (buttons, rows) use a 200ms
ease-in-outtransition to ensure a fluid feel. - Typography: Sans-serif (System stack:
Inter, sans-serif). Minimalist approach. - Shadows: Use soft, diffused drop shadows (e.g.,
0 4px 6px -1px rgb(0 0 0 / 0.1)) on cards to create depth without visual clutter.
Developer Implementation Rules
- Single File: All HTML, CSS, and JS must reside in one file.
- Storage Compliance: Explicitly disable
localStorageorindexedDB. Use an in-memory array objectlet materialLibrary = []. Force the user to use Export/Import for persistence. - External Links: Any references to laser safety or guides must use
<a target="_blank" rel="noopener noreferrer">. - Safety: Do NOT include internal popups (alert/prompt). Use styled
<div>overlays withz-indexto act as modal dialogs.
Spread the word
gemini-3.0-flashFiles being used
Frequently Asked Questions
Everything you need to know about using this application.
What is the best way to determine laser power and speed settings for a new material?
The most reliable method is to perform a 'material test card' or 'grid test' on a scrap piece of the same material. Start by choosing a conservative speed and power combination, then incrementally increase the power or decrease the speed across a grid to observe the burn depth and edge quality. Always perform a test cut on a small sample rather than your final workpiece to avoid wasting expensive materials. Keep detailed notes on these test results, including the specific laser wattage (e.g., 5W diode vs. 40W CO2), as different machines have varying output efficiencies. Using a consistent reference guide helps establish a baseline, but environmental factors like lens cleanliness and material moisture content will always require minor adjustments to your settings.
Do laser cutter settings vary between diode and CO2 laser machines?
Yes, settings are highly specific to the laser type, wavelength, and machine power. CO2 lasers typically operate at a different wavelength (10,600nm) than diode lasers (usually 450nm), making them significantly more efficient at cutting through transparent acrylics and certain woods. You cannot directly copy settings from a CO2 laser machine to a diode laser without potentially causing under-cutting or poor engraving results. Because the power delivery mechanisms differ, a 5-watt diode laser will require much slower speeds to achieve the same cut depth as a 40-watt CO2 laser. Always filter your reference charts by machine type and power output to ensure you are starting from a realistic baseline for your specific hardware configuration.
How does material thickness affect the laser cutting parameters?
Material thickness is perhaps the most critical variable when determining cutting speed and power. As material thickness increases, the laser requires more energy (higher power or slower speed) to penetrate the entire depth of the material. Furthermore, thick materials often require multiple 'passes' rather than a single slow pass to prevent excessive charring or fire hazards caused by heat accumulation. When scaling for thickness, note that the relationship is rarely linear. Doubling the material thickness might require more than double the energy, as the laser beam loses focus and energy the deeper it travels into the cut kerf. Always start with lighter settings and perform multiple passes if you are unsure of the material's reaction to the laser beam.
Can I save my custom laser settings in this application?
This application operates as a single-file, client-side tool with no external database or persistent storage, meaning it cannot save your data to a server or the browser's internal storage. However, you can manage your settings within the current browser session using the 'Export' feature, which generates a JSON file of your current material list. To persist your settings for future use, simply click the 'Export' button to download your library as a text file. When you return to the tool, you can use the 'Import' feature to upload your saved settings, ensuring your custom material parameters are restored immediately without needing an online account or database connection.
Related Applications
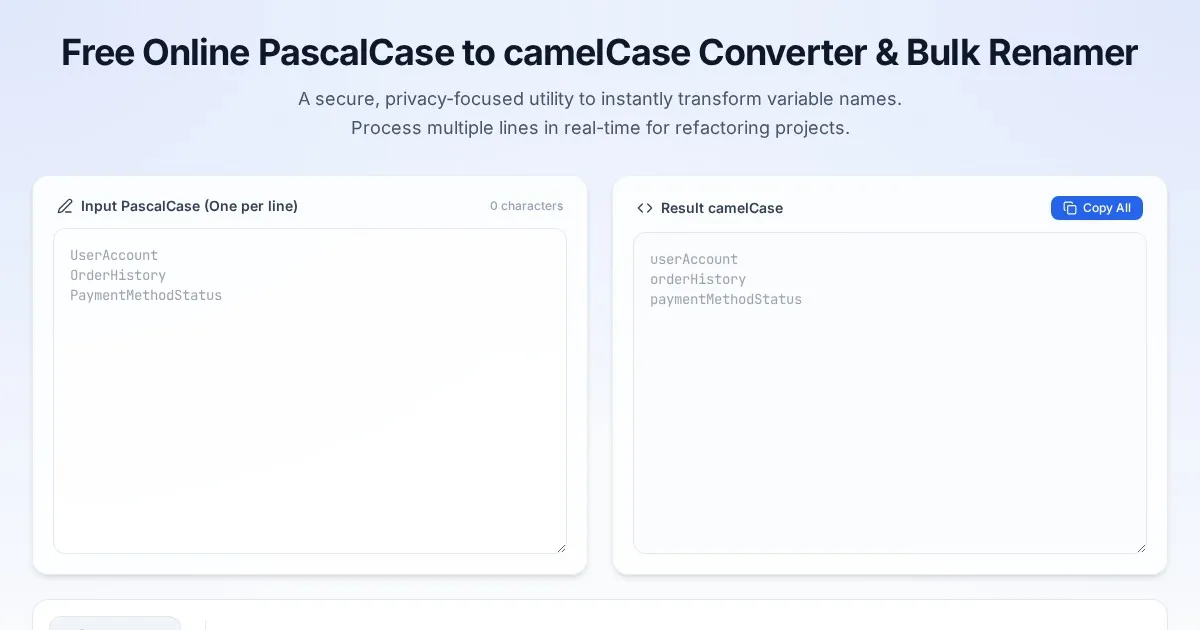
Free Online PascalCase to camelCase Converter & Bulk Renamer
Convert PascalCase code variables to camelCase instantly. A free, easy-to-use bulk variable renaming tool for developers. No server-side processing required.
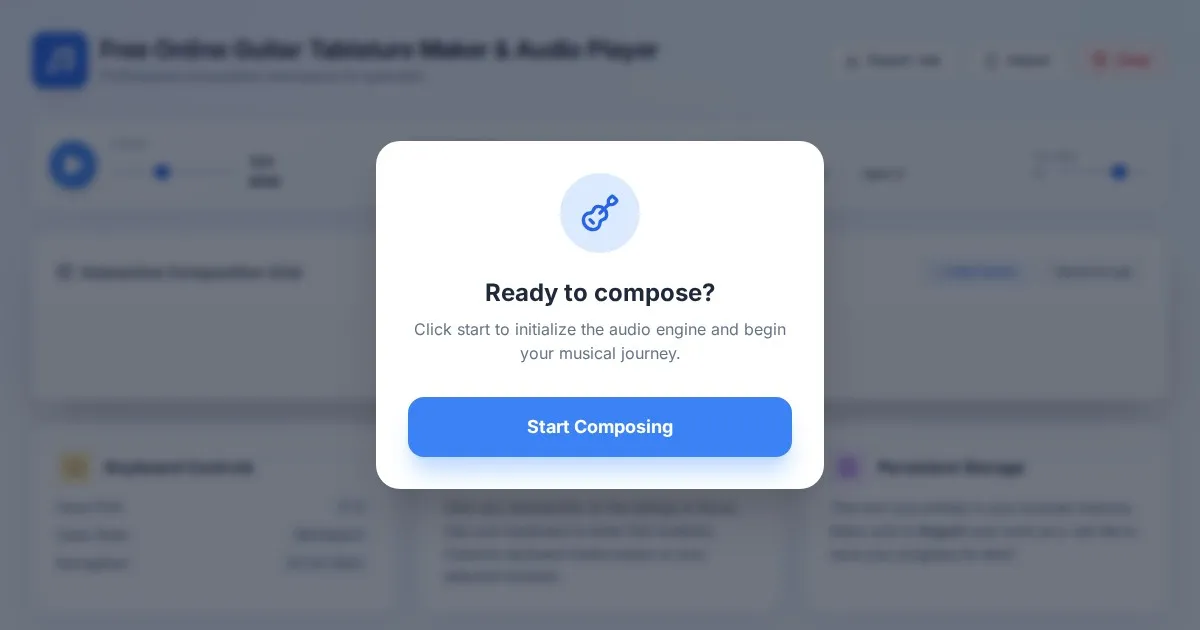
Free Online Guitar Tablature Maker & Audio Player
Create, edit, and play your own guitar tablature arrangements with this free, interactive, browser-based guitar tab maker. No installation required.
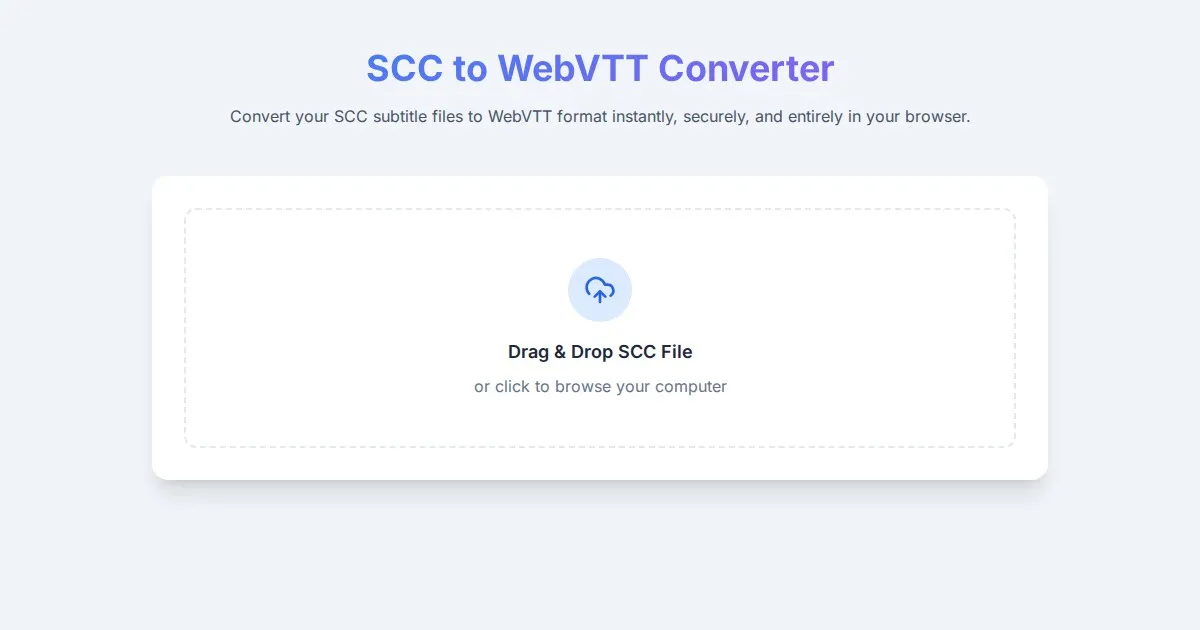
Free SCC to WebVTT Subtitle Converter Tool
Convert SCC subtitle files to WebVTT format online for free. Fast, secure, browser-based SCC to VTT conversion tool for video captioning and accessibility.
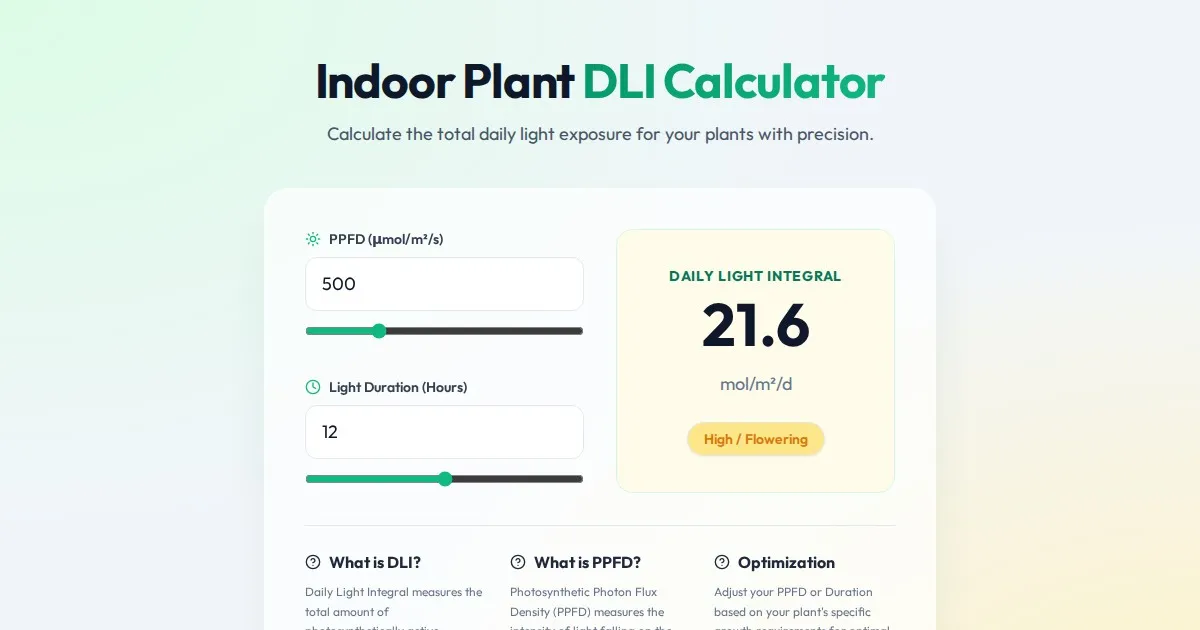
Free Indoor Plant Daily Light Integral (DLI) Calculator
Calculate the Daily Light Integral (DLI) and Photosynthetically Active Radiation (PAR) for your indoor plants. Optimize grow light hours and intensity today.
Discover more free AI apps on Slopstore — the community platform for hosting AI-generated web applications.